Many times over the past few years we have had sewing patterns in Petite Purls. The question will sometimes come up as to how to create them and how they are printed. I have asked around a few times but not gotten a lot of straight answers, I’ve even asked publishers and still not found a clear answer. So here is what I do and the process I came up with for myself and for Petite Purls. I am not saying this is the correct way to do it, it is simply the way that I do it.
1. First I draw my pattern piece with pencil onto paper, this is usually how I draft my sewing patterns anyway. Sometimes it starts on tracing paper and works its way up to regular paper or even cardboard paper.
2. Once I feel like it’s good to go, then I will place it in my scanner and scan it and open it in photoshop. In photoshop I convert it to black and white (you could just skip this step and go straight to step 4 and illustrator if you prefer):
Image > Adjustments > Back & White > Okay
3. Then I adjust the brightness and contrast so its as white and clean looking as possible (to personal taste):
Image > Adjustments > Brightness and Contrast
Save the photo to your desktop.
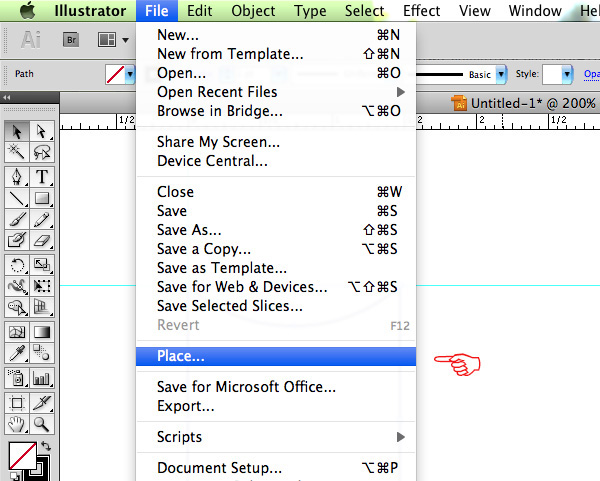
4. Next I place or import the photo into a blank Adobe Illustrator Document (This would work for In-Design, or Fireworks or possibly even Photoshop but I like Illustrator as we are creating an illustration, line art). I open the layers pallet and I LOCK the layer that my art is on so that it won’t move while I am working to trace it.
File > Place > Select your hand-drawn file
Window > Layers > Select the New Layer icon > Then lock the original layer with the art on it, by selecting the little empty box next to the eye icon.

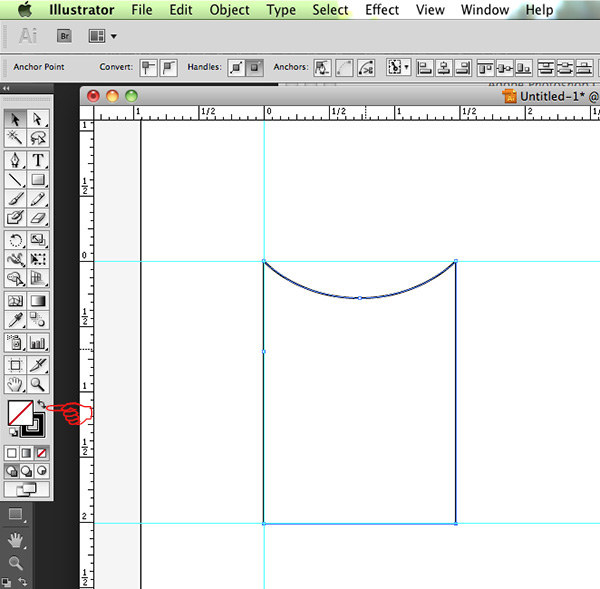
Select the Pen Tool > Make sure black is selected as the color to draw with > select the first point or corner to begin and click once, it will place a point, then select a secont point near the next corner or center of a curve. For a corner simply click again and it will create a simple straight line from the first place you clicked, to the second place you clicked. If its a curve then I click on the center line of the curve and I click and DRAG/PULL which will create a smooth curve to the point.
Here in this shot below I use the white arrow tool to select an existing curved point so I can tweak it:
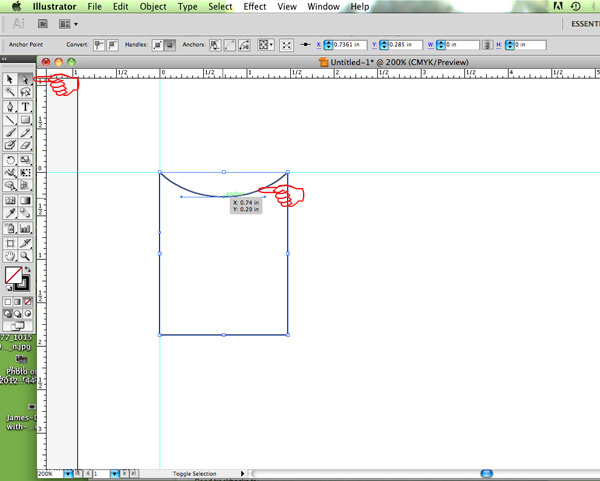
This next bit involves trial and error of learning how to use the pen tool, making straight lines vs curved lines as needed. When you come all the way around to the beginning and click on the original point it will “close” the shape you just created. If it fills in with white or another color you need to set the fill color to none.
5. I delete the layer that had my hand drawn art on it so it no longer appears, or you could just click the eye so it becomes invisible but I prefer to delete it.
6. Next I go back to my hand drawing, the original one before I scanned it and I measure how tall it is from the top most to bottom most point. This is very important so that I make sure my illustrator document is the right size for printing.
View > Rulers > Show Rulers
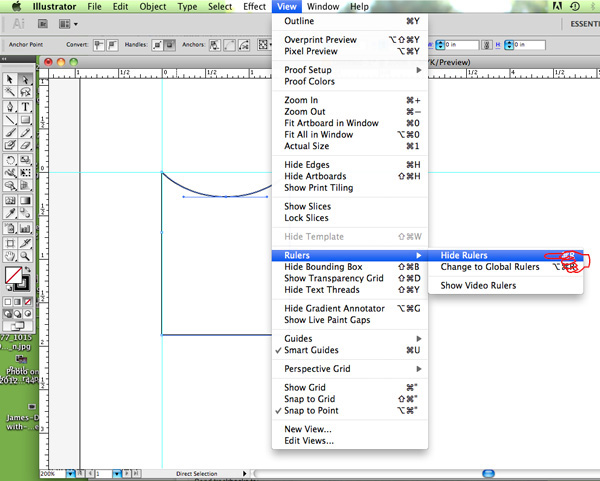
I like to drag guides out of the rulers (click in the ruler and hold and drag a line out of it, its like magic!) to mark the measurements I want to hit.
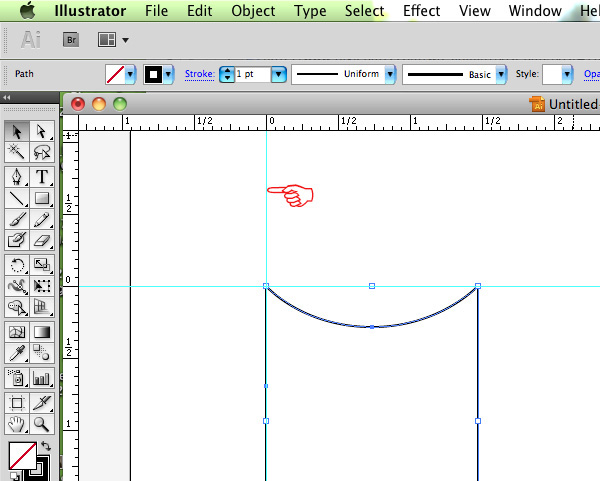
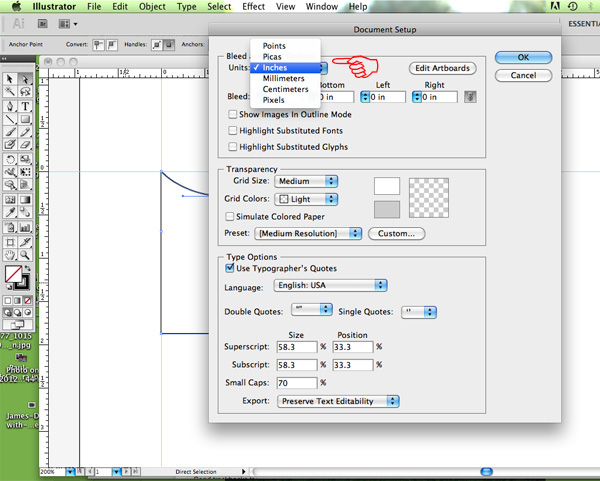
File > Document Setup > Units > Make this inches (or your preferred measuring unit)
Back in my illustration I select all “ctrl+a” then “ctrl-t” (not sure that last step is necessary but just in case) then I HOLD DOWN the SHIFT key and I will drag and pull the bottom most corner of this new scalable box surrounding my illustration. Now you may make it smaller or bigger and make sure its the right amount of inches to match your hand drawings scale. Holding shift makes sure that is scales at a proper ratio, otherwise you could accidentally only make it taller but not wider.
So if my pattern peice was 6″ high, I make sure it is also 6″ high in illustrator. Next I may change the color of the lines or add notes as needed.
7. Next I will create a PDF file of the drawing:
File > Print > Options section > select “DO NOT SCALE”
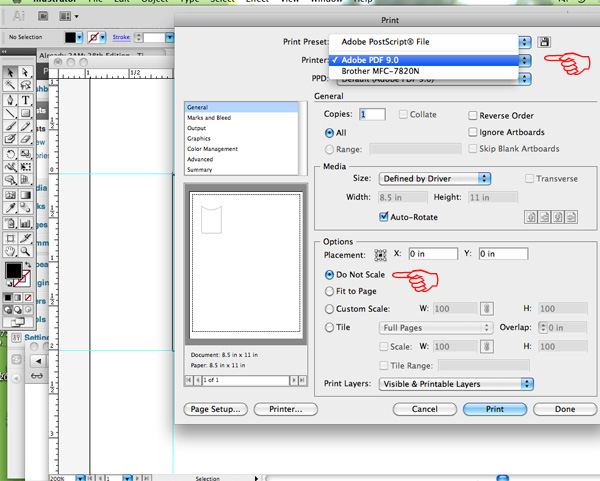
I’ve also gone into the “Page Setup” option under print and made sure the scale was 100% to make extra sure.
Make sure the “Printer” section/option is set to Adobe PDF so that it prints to a PDF and not your printer. I use this method vs the “Save As” method because it gives me the options for scale which I need to make sure are set right.
Now it prints a PDF to my computer. I will often then open the PDF and print it at 100% on my printer and compare it to my hand drawing to make sure everything is correct.
Having done this in illustrator it would be very easy now to scale the pattern a little up or down if I find the piece was a little small  or a little big. Its super easy to tweak in Illustrator, no more cutting or re-tracing, just make the change and print! Always make sure to have a note in the PDF instructing the person to print it at 100% as sometimes printers will be set differently  and can mess up the dimensions of your print.
This is my little hacked out way I’ve found to do this, and I am sure there is room for improvement!
Great tutorial! I’m sure it will come in handy.